If you for some reason didn’t find a cursor pack you want in our giant custom cursor collection, you can create your own using our Custom Cursor Creator tool from your own images.
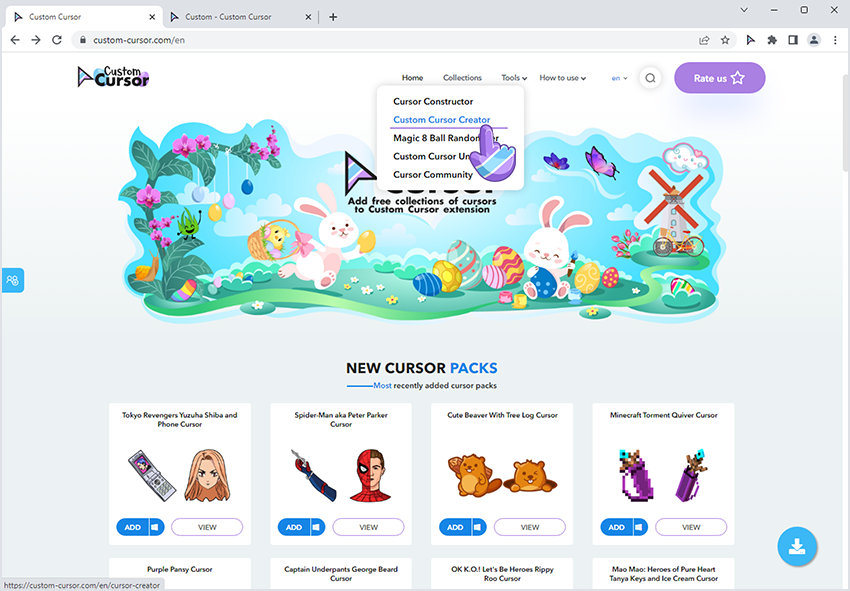
Navigate to the Custom Cursor website and press the Custom Cursor Creator link in the upper menu in the Tools section. Or just follow this link to access the Custom Cursor Creator tool.
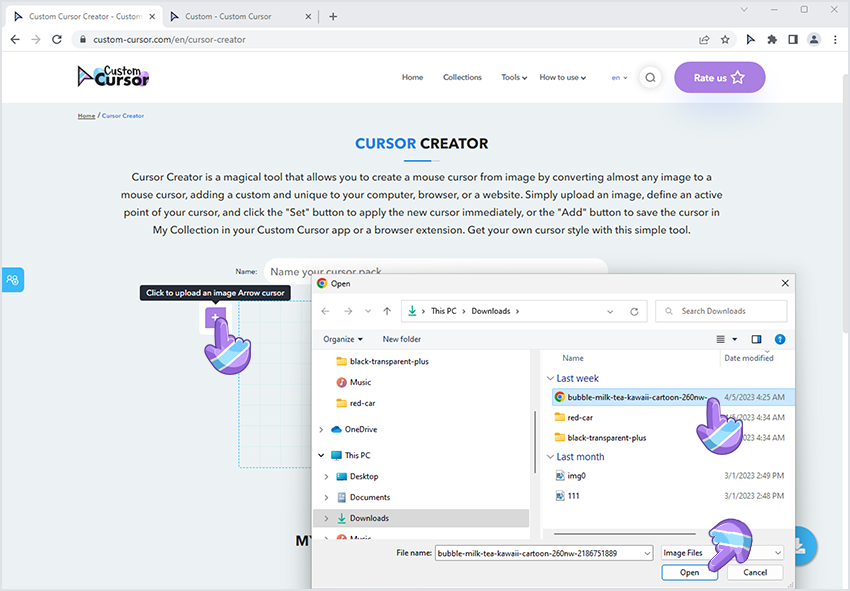
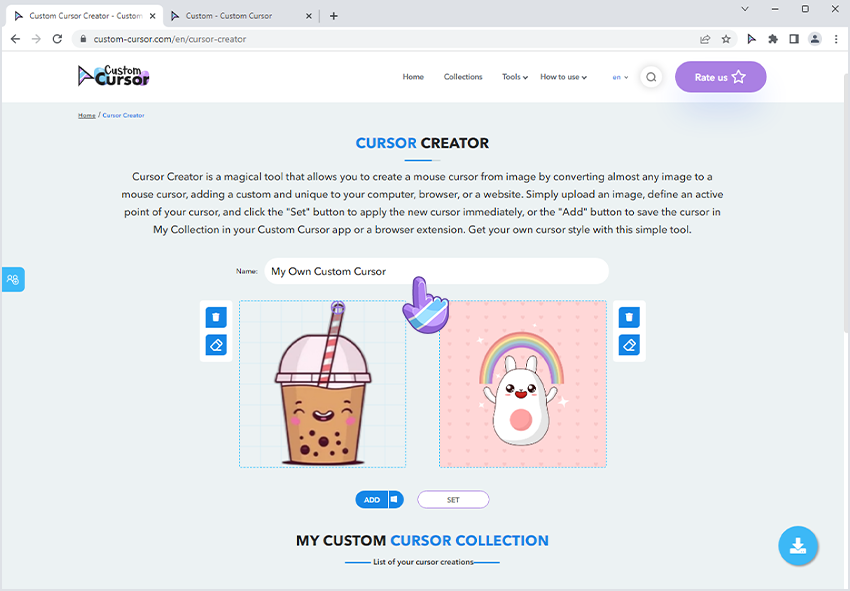
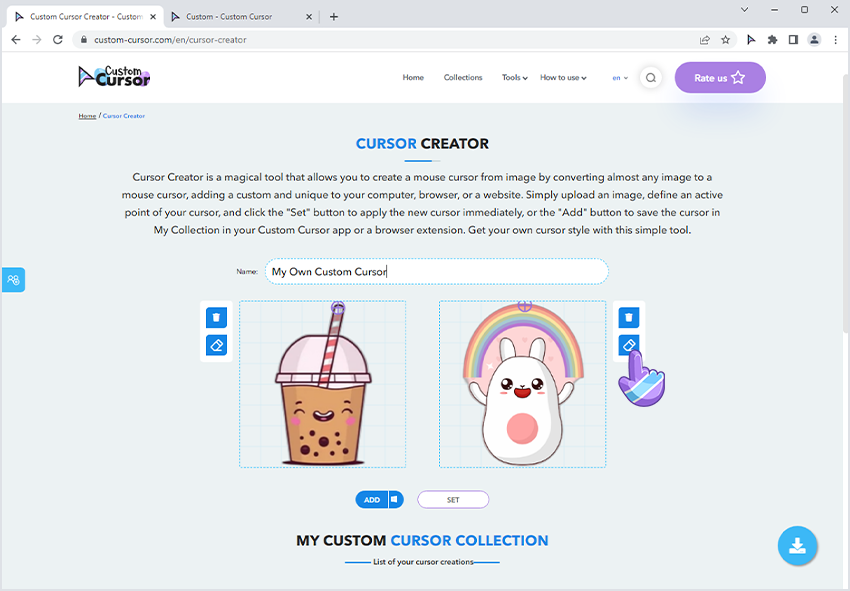
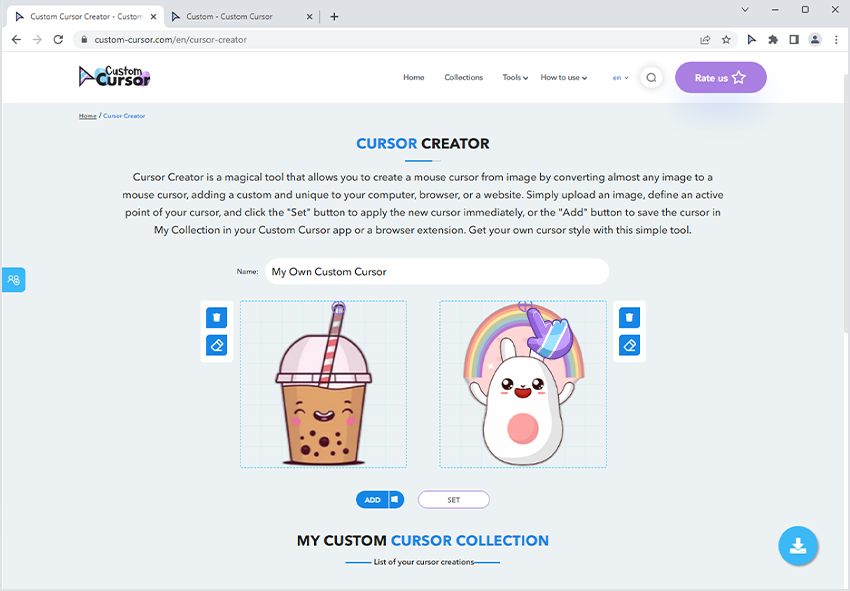
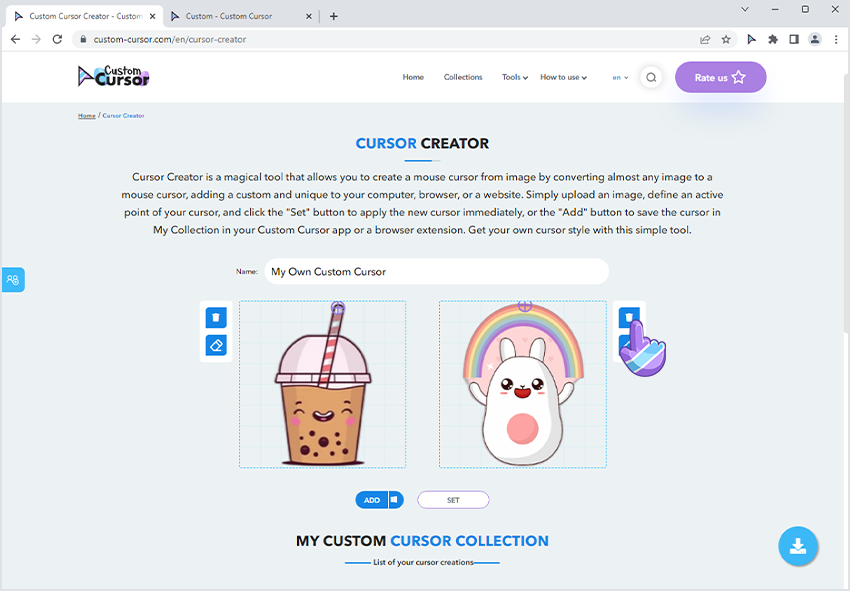
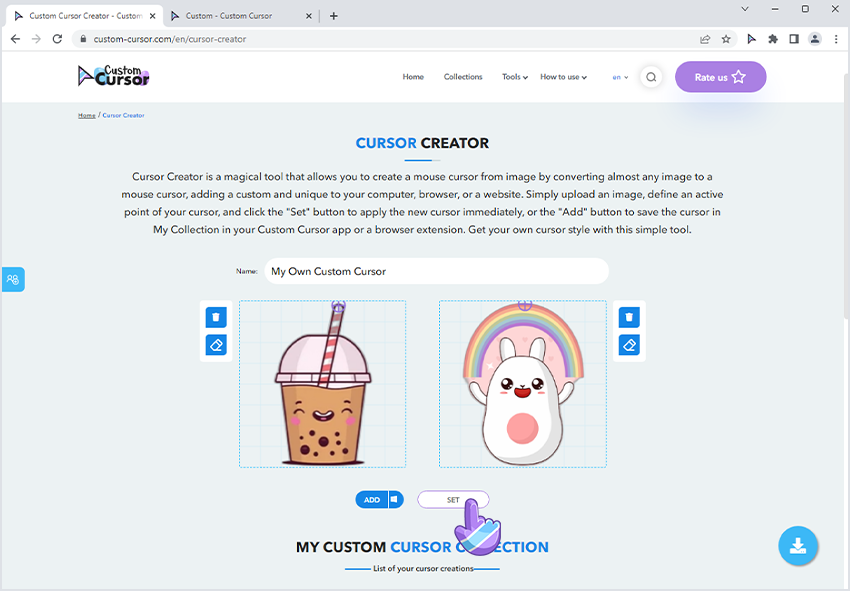
Press on the blue + icon of the cursor in the upper left part of the screen to add your cursor image. You can also use drag and drop in the cursor area next to it to add a cursor image. This image will be used as a cursor in your own cursor pack. You choose to add only the cursor and create a pack with it, but a combination of a cursor and pointer is more practical and looks better. But if you choose only the cursor, the pointer will be your Windows default.
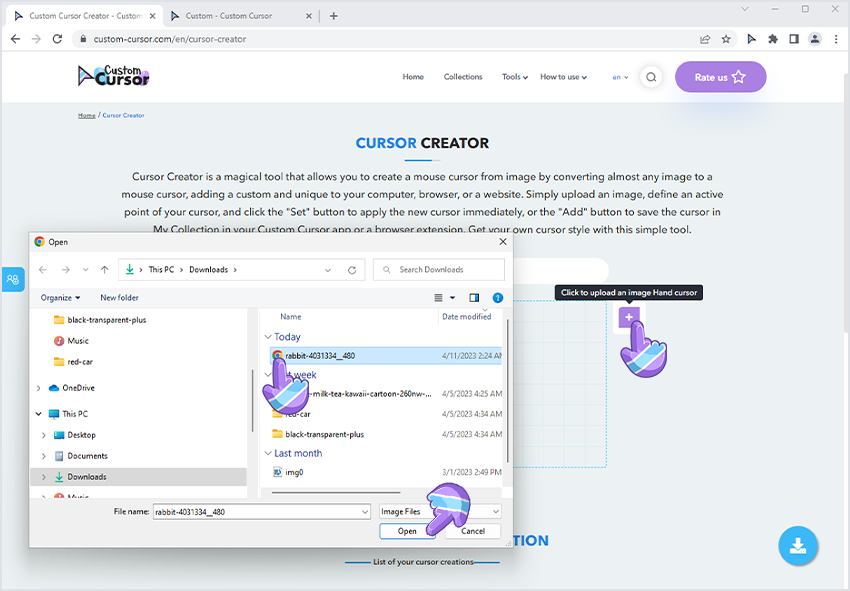
Press on the blue + icon of the cursor in the upper left part of the screen to add your pointer image. You can also use drag and drop in the cursor area next to it to add a pointer image. This image will be used as a pointer in your own cursor pack. You choose to add only the pointer and create a pack with it, but a combination of a cursor and pointer is more practical and looks better. But if you choose only Pointer, the cursor will be your Windows default.
Well-built cursor pack is crucial to its ease of use, so here we will review three steps to make your cursor pack better:
After you are done adding images for your own custom cursor, and completed the actions mentioned in the Adjusting your own cursor pack it is time to add them to the My Custom Cursor collection in your Custom Cursor Windows application. To do so simply click the Windows logo on a blue ADD button and it will be added to your Custom Cursor for Windows app where you can activate it or it will be waiting for you for later use.

Alternatively to adding your own custom cursor pack you can set it without adding it to My Custom Cursor collection. It will be instantly set as your current cursor in the Custom Cursor browser extension and will not be editable if you leave the page. A cursor pack will be set in your browser as a cursor until cursor settings are changed or overwritten.
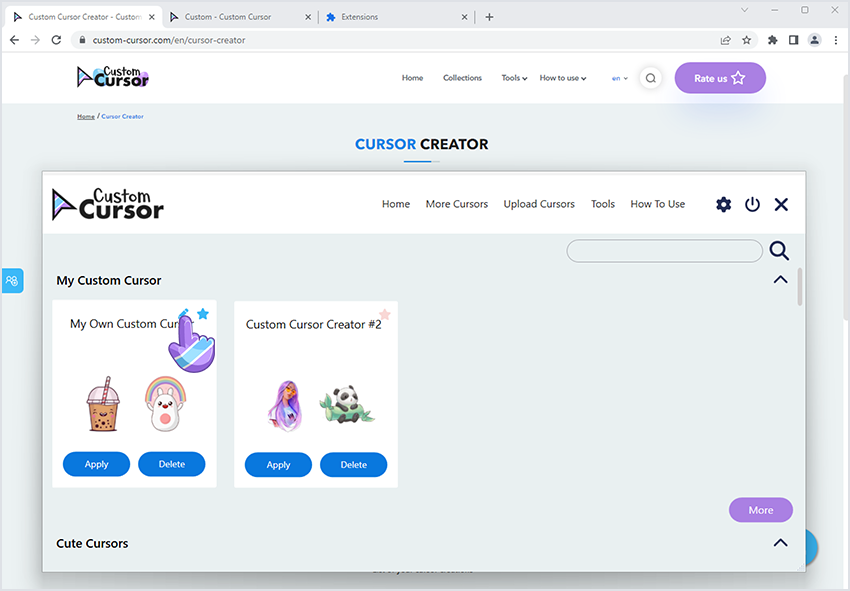
On the main page of the Custom Cursor for Windows app you can find all of your previously added own cursor packs under the My Custom Cursor collection section. To edit any of those cursor packs simply hover the mouse over the tile of the cursor pack you want to edit and click on the blue pencil icon in the upper right corner of the tile – it will open the cursor edit window.
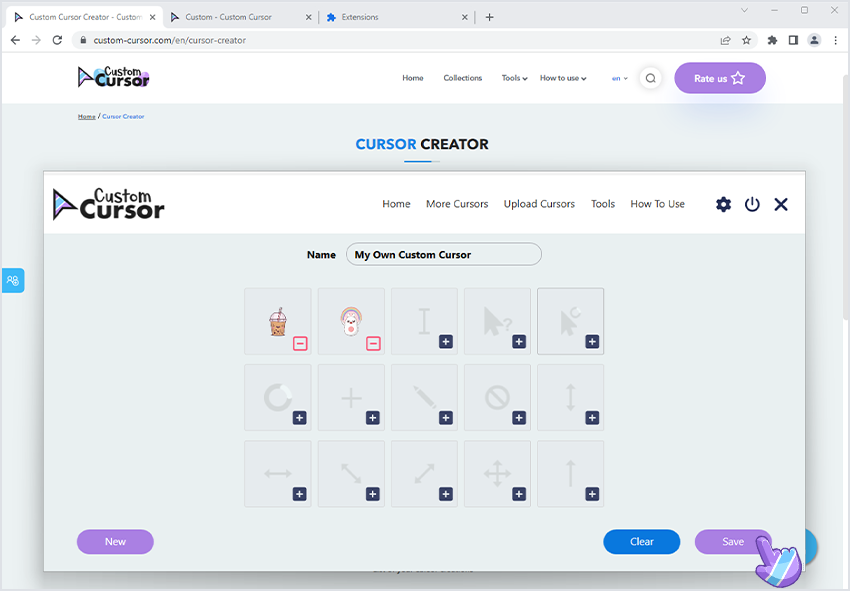
After you have done all the changes you wanted make sure to click the blue SAVE button in the lower part of the Edit cursor page to save the changes you made.
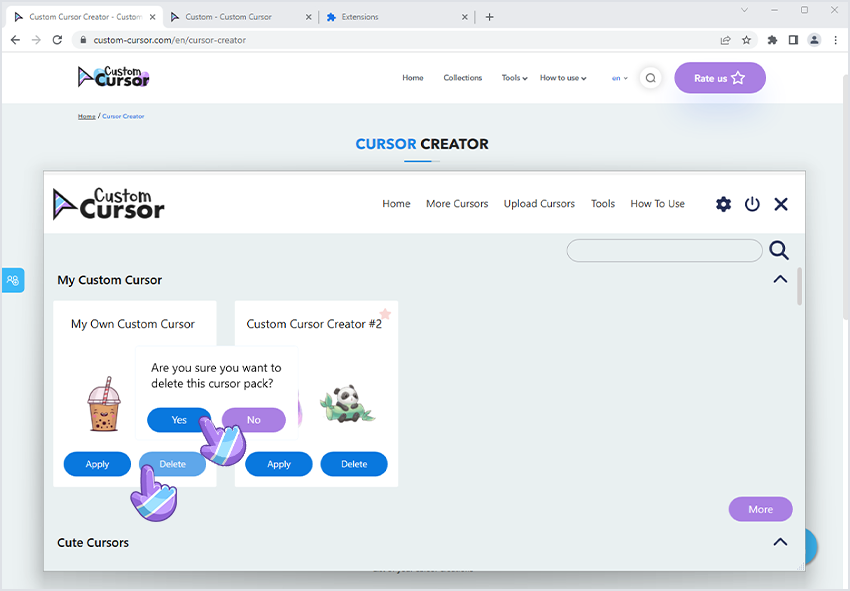
If you would like you can delete some of the cursors you created before. To do so navigate to the Cursor Creator for Windows main window and find the cursor pack you want to be deleted in the My Custom Cursor collection section, it's located above all other added collections, and press the DELETE button on it.
Please note that there is no confirmation on the Delete action and it will be immediately deleted without confirmation.