Custom Cursor for Windows 10 app has the ability to work with third-party .cur files. You can add, manage, and set your favorite cursor files as your Windows cursor, even if those were downloaded from the internet or gifted to you by a friend.
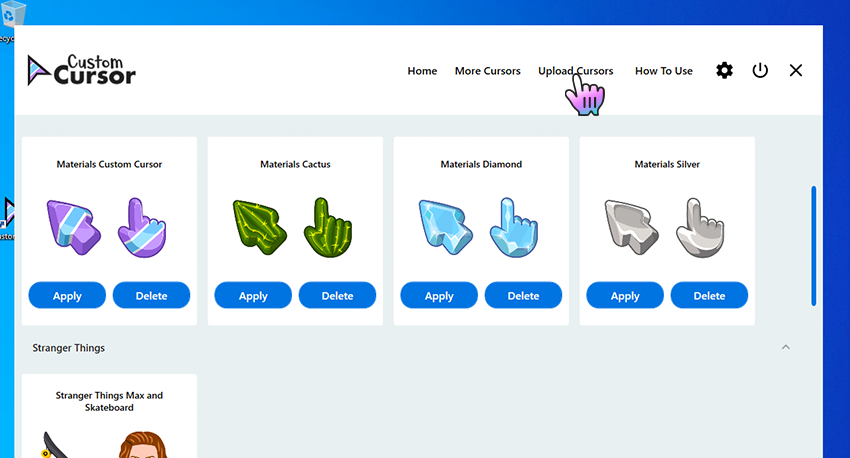
To create your own cursor pack in the Custom Cursor for Windows app you need to open the Custom Cursor app main window and click the “Upload Cursors” button on the top menu. This will open the upload cursors page.
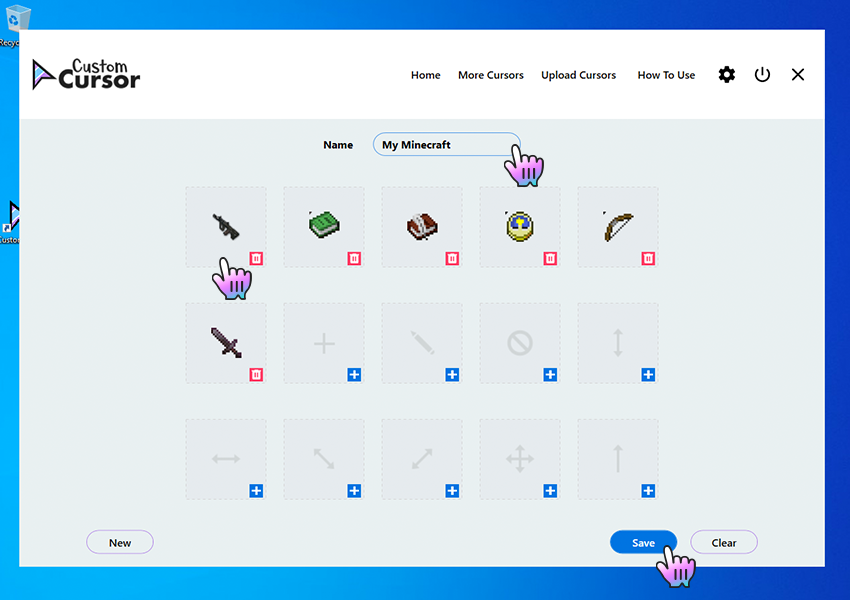
Once on the Upload Cursors page you will see a cursor pack name input field called “Name”, a cursor elements upload cells with an image of the element you are setting and a “+” button to add that element.
Add own cursors interface buttons:
Remember to save your progress before switching to the home page and activating your new own cursor pack.
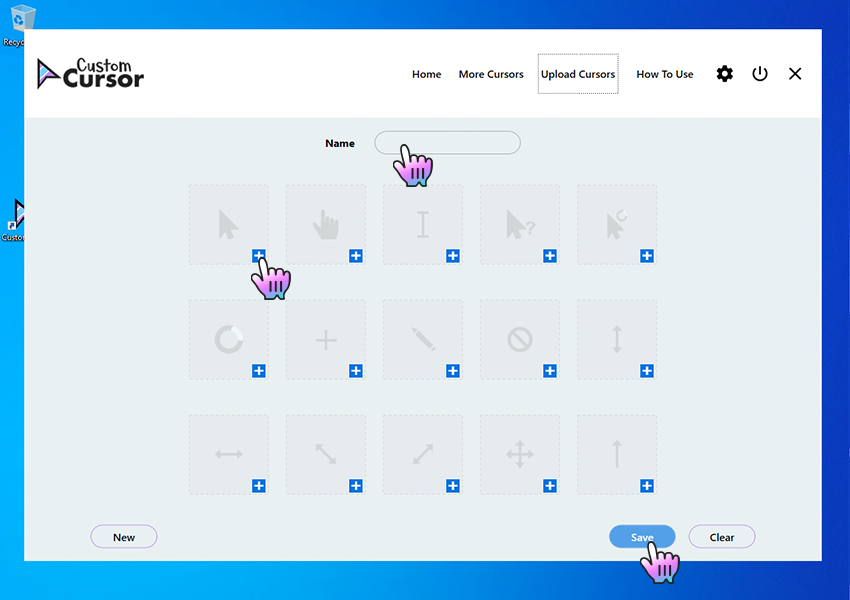
To create your own cursor pack, once you are on the Upload Cursors page, you must complete the following actions:
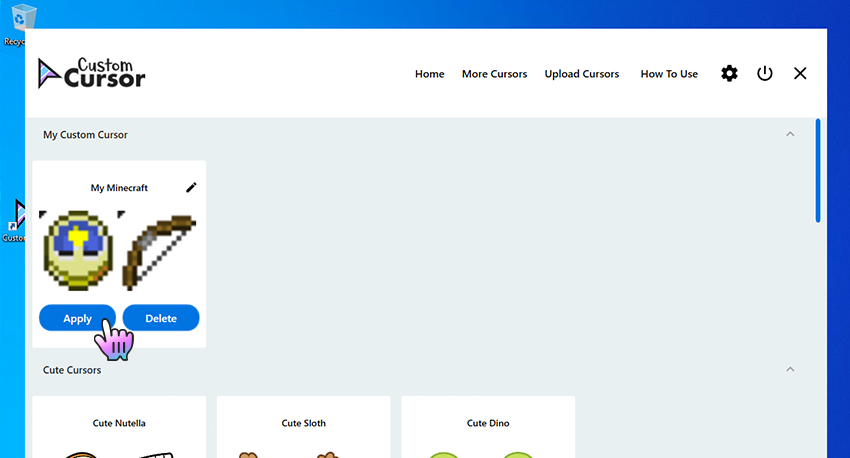
The cursor pack you created will appear on the Home page, in the My Custom Cursor section, with a Name you have set for the pack and can be activated there, by hitting the “Apply” button.
To Apply the uploaded cursor pack navigate to the Home screen of the Custom Cursor for Windows 10 app, find “My Custom Cursor” section, choose a cursor pack that you created and press the “Apply” button to make it the active cursor.