On the home screen of the app you can find many useful buttons that will help you using Custom Cursor for Windows 10 app, as you can see on a screenshot.
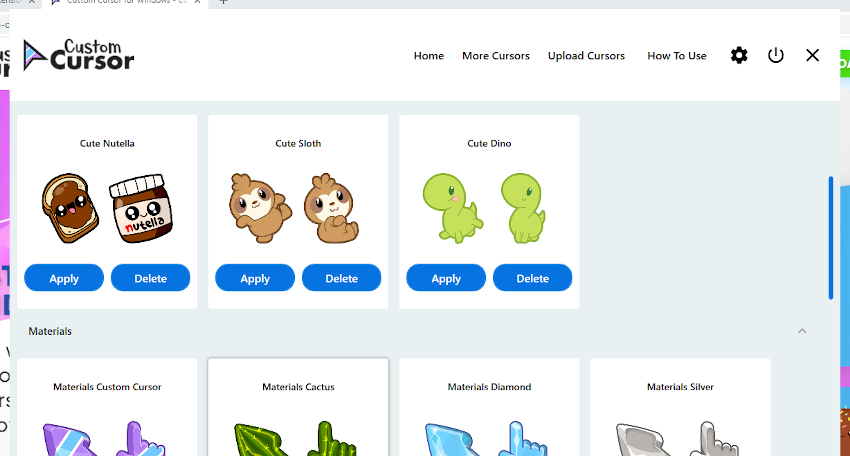
Here you can find:
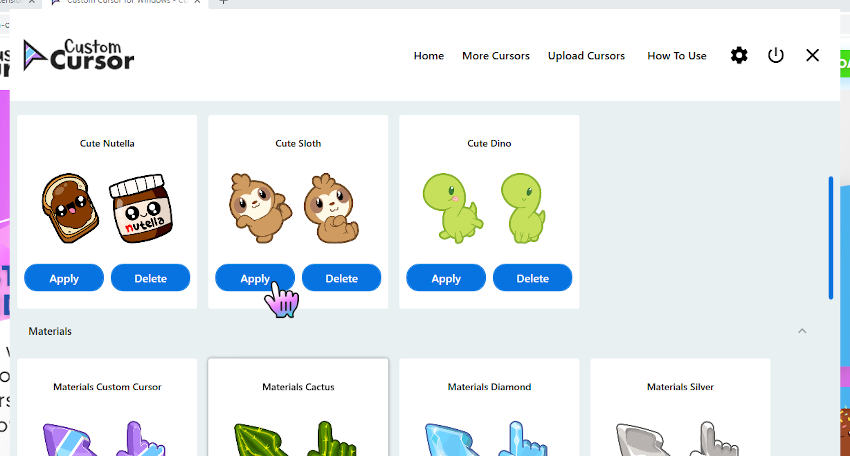
On the home screen of the Custom Cursor for Windows 10 app, scroll down and choose a cursor pack that you like and press the “Apply” button to make it the active cursor.
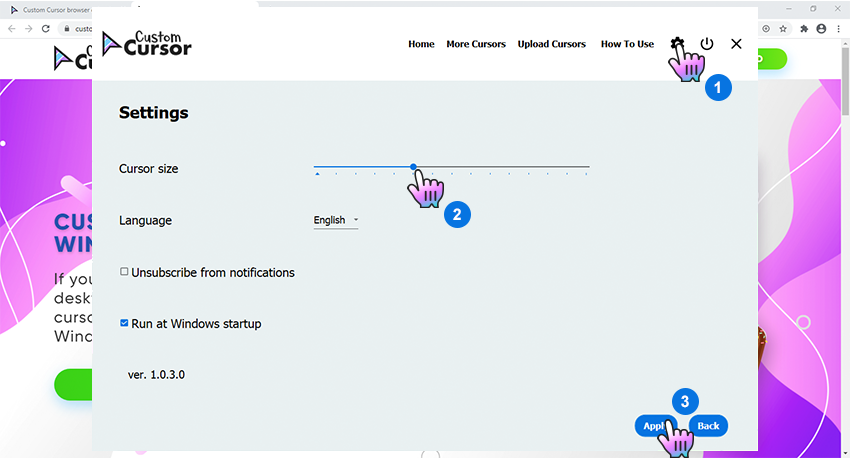
To change the size of your cursor you need to open Custom Cursor for Windows 10 app window. In the upper menu press the Settings button. On the settings page use the size slider to choose the cursor size you like and press “Apply”.
To return to default cursor at any moment open Custom Cursor for Windows 10 app window and press “Default cursor” button. Alternatively, you can open your Windows Mouse setting and select any other system cursor that you like. Custom Cursor will not be active until you hit the Apply on another cursor again.