When you’ve downloaded all cursor packs in your Custom Cursor for Windows 10 app and want to clean up a little bit :)
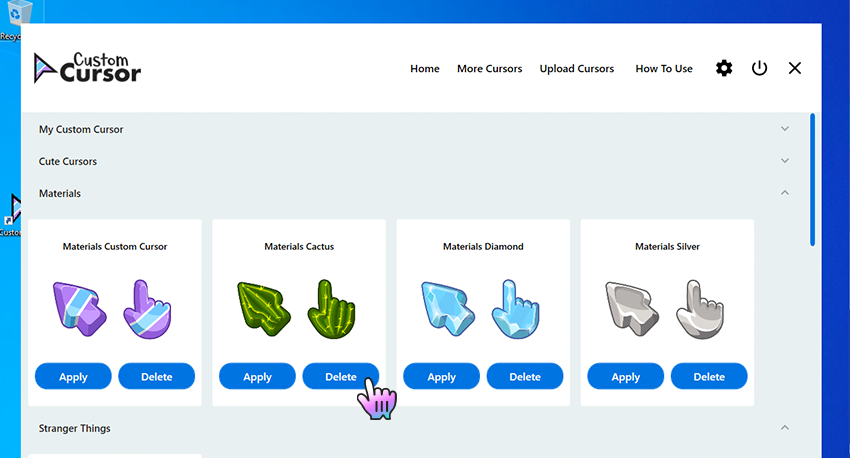
To remove some of the cursors you downloaded from the Custom Cursor for Windows 10 app you need to open the main app window. Navigate to a cursor pack that you want to be removed, and press the “DELETE” button next to it.
The collection will automatically disappear, when all of its cursor packs are deleted.
If you added your own cursor pack from .cur files to the Custom Cursor for Windows 10 app - you can edit them
to fit your current needs. To do so, you need to navigate to Custom Cursor for Windows home page, find the
cursor pack tile you like to edit. In the top right corner of the own cursor tile, you can find a pencil
icon, click on it to open your own cursor pack edit mode.
In the edit mode you can change your own cursor pack name
and add or remove its elements like cursors or pointers. Please note that if you delete some of the elements
your Windows defaults will be used.
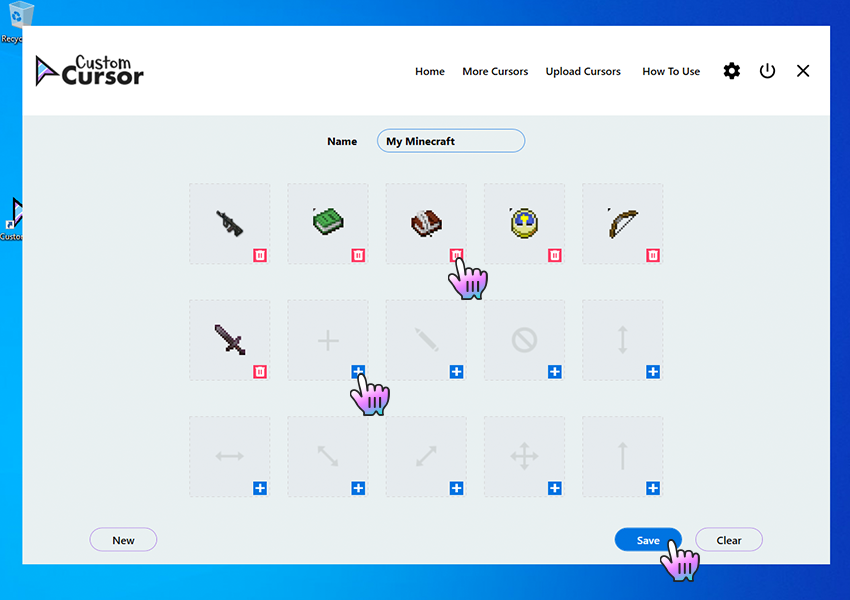
*Please note that you need to save your progress before exiting the “Edit own cursor” section by clicking the “Save” button.